How to use heat shrink tubing

In electrical work, industrial production, and everyday repairs, heat shrink tubing is an essential tool. It insulates wires, protects components, bundles cables, and shields electrical connections from things like moisture, chemicals, and physical wear and tear. But choosing the right heat shrink tubing isn’t always easy! One key factor is the shrink ratio, which determines how much the tubing can shrink after heating. This directly impacts how well it fits.
Today, we’ll break down what the shrink ratio is, how heat shrink tubing works, and how to choose the right one for your needs. Let’s make your electrical projects smoother and more professional!
What is the Shrink Ratio?
The shrink ratio refers to how much the diameter of the tubing decreases after heating, typically shown as “2:1,” “3:1,” or “4:1”:
•2:1 ratio: The tubing shrinks to half its original size.
•3:1 ratio: The tubing shrinks to one-third of its original size.
•4:1 ratio: The tubing shrinks to one-fourth of its original size.
For example:
A 10mm 2:1 tubing will shrink to 5mm after heating.
A 10mm 3:1 tubing will shrink to around 3.3mm.

Heat Shrink Tubing Ratio Diagram. “D” represents the original diameter, and “d” represents the diameter after heating.
The larger the ratio, the wider the range of sizes it can fit, making it ideal for objects with varying dimensions.
How Does Heat Shrink Tubing Work?
Heat shrinking tubing is a versatile protective solution used in electrical, automotive, aerospace, and industrial applications. It is made from special polymer materials, such as polyolefin, which undergo a unique manufacturing process that enables them to shrink when exposed to heat.
1、The Science Behind Heat Shrink Tubing
During production, the tubing is first extruded into its smaller, natural size. It is then expanded while being heated and rapidly cooled to lock it into the stretched state. This gives the tubing a “memory” of its original dimensions. When heat is later applied (typically between 90°C and 250°C, depending on the material), the tubing reverts to its original size, tightly conforming to the object it covers.
2、Key Benefits of Heat Shrink Tubing
•Electrical Insulation – Provides a protective barrier to prevent short circuits and electrical failures.
•Mechanical Protection – Shields wires and components from abrasion, bending, and impact damage.
•Environmental Resistance – Offers protection against moisture, chemicals, UV exposure, and extreme temperatures.

•Strain Relief – Reduces stress on wire connections, preventing wear and tear over time.
•Bundling & Organization – Helps manage and secure multiple wires, improving aesthetics and safety in installations.
How to Use Heat Shrink Tubing
1、Prepare your tools and materials:
You’ll need scissors, a ruler, and a heat gun (or another heat source like a lighter, though heat guns are more even and professional). Choose tubing that slides easily over your target area before heating.
2、Cut the tubing:
Use scissors to cut the tubing slightly longer than the area you need to cover. This gives you some overlap for better protection.
3、Place the tubing:
Slide the tubing over the wire, connector, or component you want to protect. For irregular or larger shapes, use tubing with a higher shrink ratio (e.g., 3:1 or 4:1) to ensure full coverage.

4、Heat the tubing:
•Use a heat gun, starting at one end, and heat evenly. Move the gun slowly to avoid overheating or burning the material.
•The tubing will begin to shrink. Keep heating until it fits snugly around the object.
•For dual-wall tubing (with adhesive inside), the glue will melt during heating to create a sealed, waterproof layer.
5、Check the result:
After heating, the tubing should be smooth, bubble-free, and tightly wrapped. If it has not fully shrunk, apply more heat until it fits perfectly.

6、Cool and test:
Let the tubing cool naturally, then press it gently to check if it’s secure. If it’s for insulation, test it with a multimeter to ensure it’s working properly.
Common Shrink Ratios and Their Uses
2:1 Ratio:
•Features: The most common, good for general use.
•Applications: Insulating wires, bundling cables, and protecting small components.
•Example: A 10mm tubing shrinks to 5mm, suitable for parts with minimal size variation.
3:1 Ratio:
•Features: Greater shrink capability, works for irregular shapes or parts with larger size differences.
•Applications: Sealing connectors, joints, and larger cables.
•Example: A 15mm tubing shrinks to 5mm, covering parts with noticeable size changes.
4:1 Ratio:
•Features: Maximum shrink capability, designed for extreme conditions.
•Applications: Marine, aerospace, military, or heavy-duty industrial equipment.
•Example: A 20mm tubing shrinks to 5mm, perfect for complex shapes or large parts

How to Choose the Right Shrink Ratio
1、Size of the object:
Measure the largest diameter of your target object. The tubing should be large enough to fit over it before shrinking.
2、Final fit:
Ensure the tubing will shrink tightly around the object. For irregular or variable sizes, go for higher ratios like 3:1 or 4:1.
3、Environment:
If the tubing will be exposed to extreme heat, moisture, chemicals, or abrasion, choose a durable material that matches the environment.
4、Application type:
•For basic wire insulation, 2:1 is fine.
•For sealing connectors or harsh environments, 3:1 or 4:1 is better.
Types of Heat Shrink Tubing
1、PE Heat Shrink Tubing
•Description: This is the standard type of heat shrink tubing, made from a single layer of material, typically polyolefin.
•Features: Shrinks evenly and tightly around wires and components.Provides electrical insulation and light mechanical protection.
•Applications: Basic insulation for wires and cables, strain relief, and bundling of wires.
•Shrink Ratio: Typically 2:1 (shrinks to half its original size), but can also be 3:1 or 4:1.

2、Dual-Wall Heat Shrink Tubing:
•Description: This type of tubing has two layers: an outer layer made from polyolefin and an inner adhesive layer.
•Features: The adhesive layer melts and bonds to the underlying surface when heat is applied, forming a waterproof and airtight seal. It provides better insulation and environmental protection than single-wall tubing.
•Applications: Used in applications requiring waterproof sealing, like outdoor electrical installations, automotive, and marine environments.
•Shrink Ratio: Commonly 3:1 or 4:1.

3、Fabric heat shrink tubing:
Description:Fabric heat shrink tubing combines the flexibility and abrasion resistance of woven fabric with the secure fit of heat shrink technology. When heated, it shrinks tightly around cables, wires, or hoses, providing durable protection and a clean, professional appearance.
Features: Flexible, durable, and easy to install, it adapts to irregular shapes, withstands –40°C to +125°C, offers flame-retardant and halogen-free options, and ensures a neat, professional cable finish.
Applications: Ideal for automotive wiring, aerospace and railway systems, audio/video cables, industrial machinery, and other heavy-duty or outdoor applications where reliable cable protection is essential.

Conclusion
In summary, heat shrink tubing is an indispensable tool for providing insulation, mechanical protection, and environmental resistance to wires and components across a wide range of industries. Understanding the shrink ratio is crucial when selecting the right tubing for your needs. The shrink ratio determines how much the tubing will shrink and affects its ability to fit various sizes and shapes. Common ratios, such as 2:1, 3:1, and 4:1, offer flexibility for a range of applications from simple wire insulation to complex industrial setups.
By understanding these factors, you can make more informed decisions and achieve professional-quality results in your electrical projects, ensuring safety, durability, and functionality.
Next time you need insulation or protection, start with heat shrink tubing to make your projects more reliable and professional.
Hey there, I’m Aoife!

Get A Quote
Related Post You May Also Like

Application of Braided Split Wire Loom in Automotive Wiring Harness
[pac_divi_table_of_contents included_headings="off|on|on|off|off|off" exclude_headings_by_class="on" active_link_highlight="on" level_markers_3="icons" title_container_padding="10px|15px|10px|15px|true|false" title_container_bg_color="#333333" body_area_height="650px"...
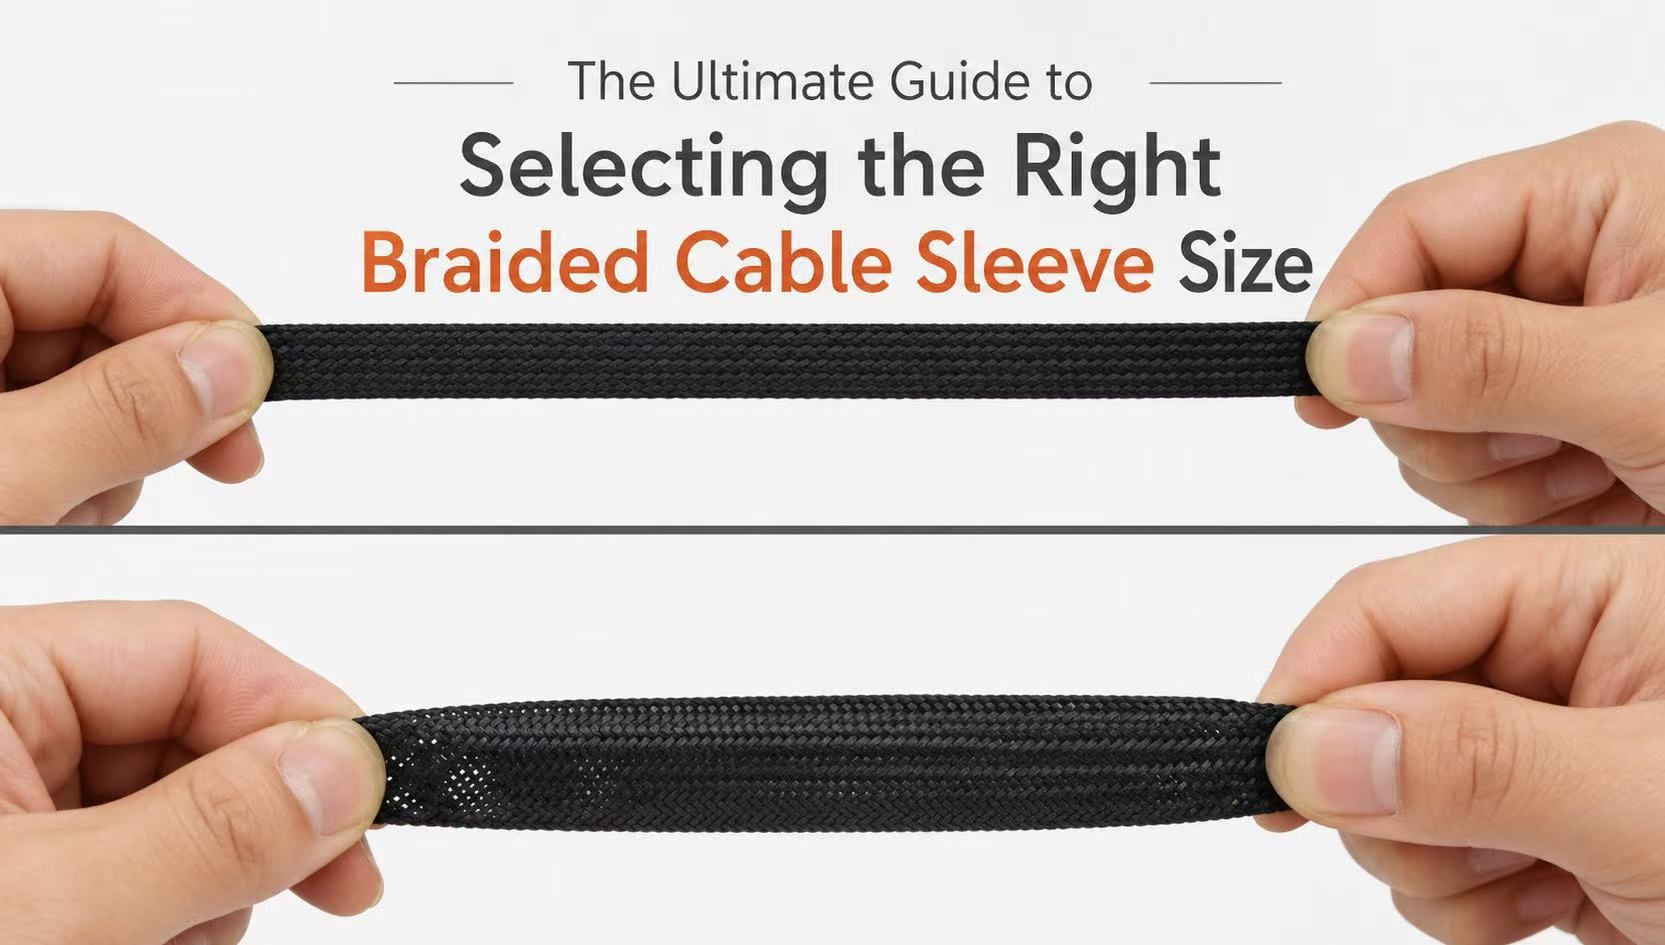
How to Choose the Right Size for a Braided Sleeve?
[pac_divi_table_of_contents included_headings="off|on|on|off|off|off" exclude_headings_by_class="on" active_link_highlight="on" level_markers_3="icons" title_container_padding="10px|15px|10px|15px|true|false" title_container_bg_color="#333333" body_area_height="650px"...
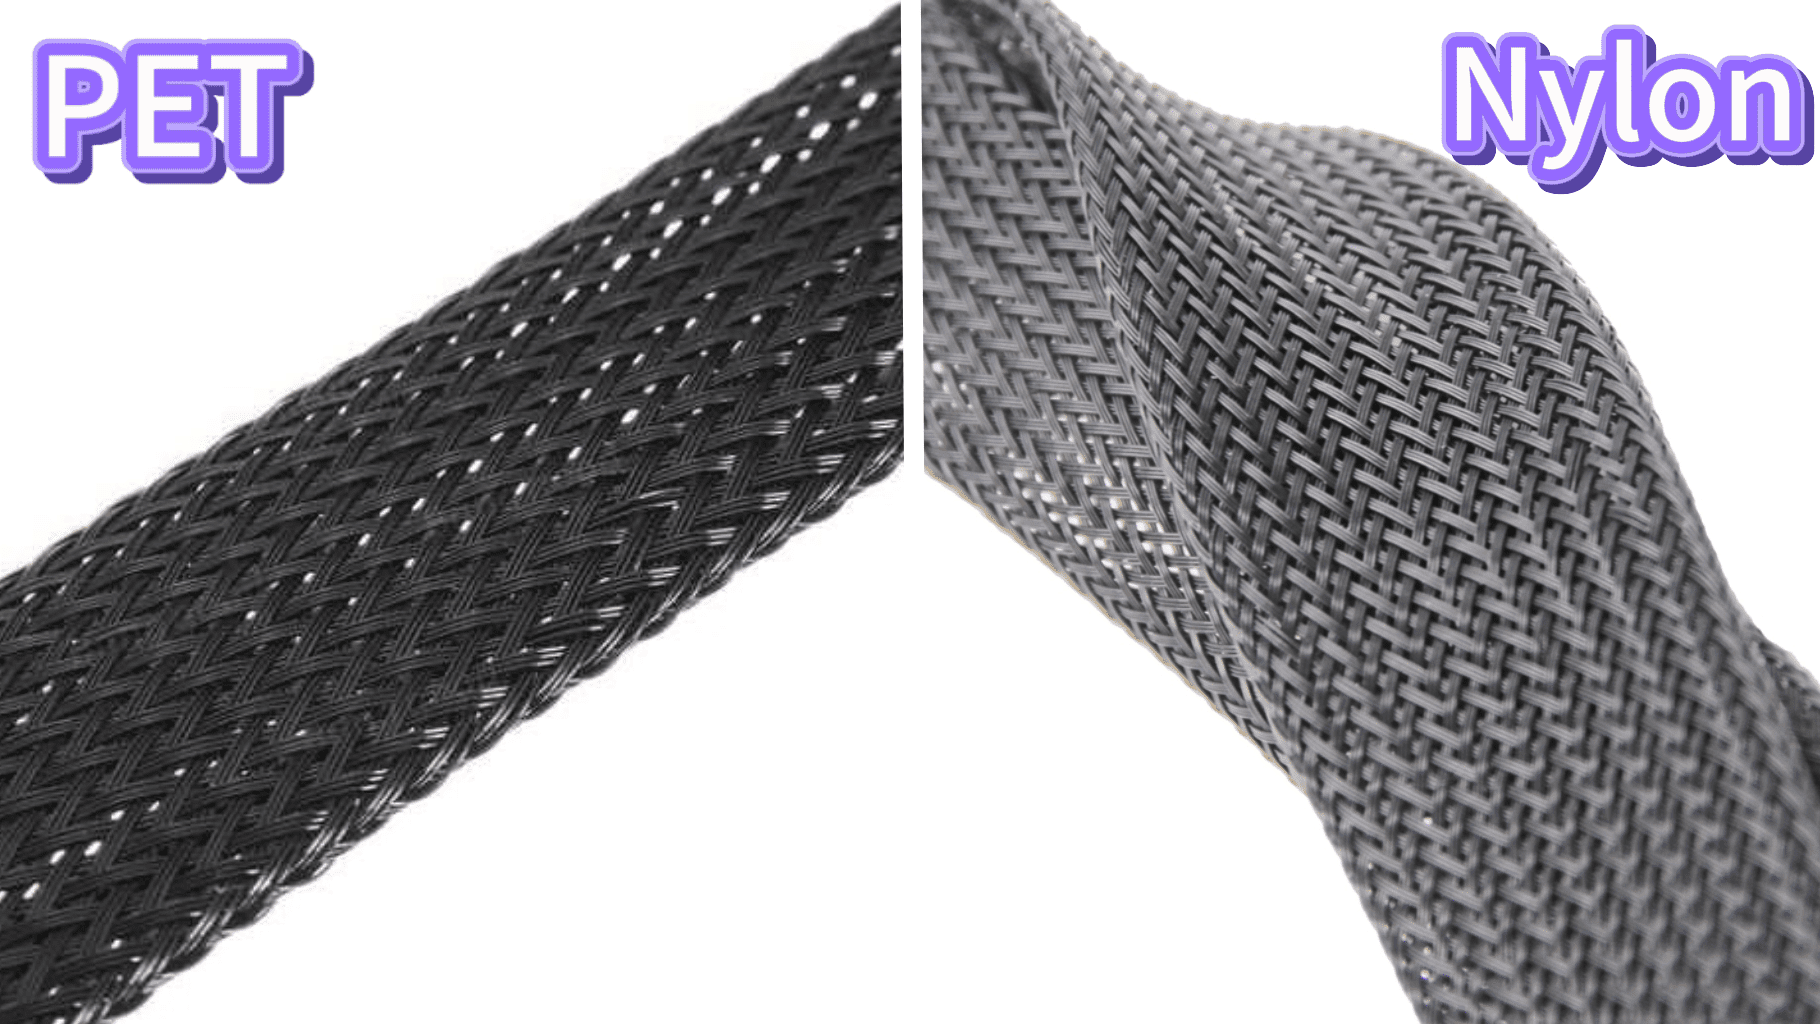
How to Choose the Right Braided Sleeving: PET or Nylon for Cable Protection?
[pac_divi_table_of_contents included_headings="off|on|on|off|off|off" exclude_headings_by_class="on" active_link_highlight="on" level_markers_3="icons" title_container_padding="10px|15px|10px|15px|true|false" title_container_bg_color="#333333" body_area_height="650px"...
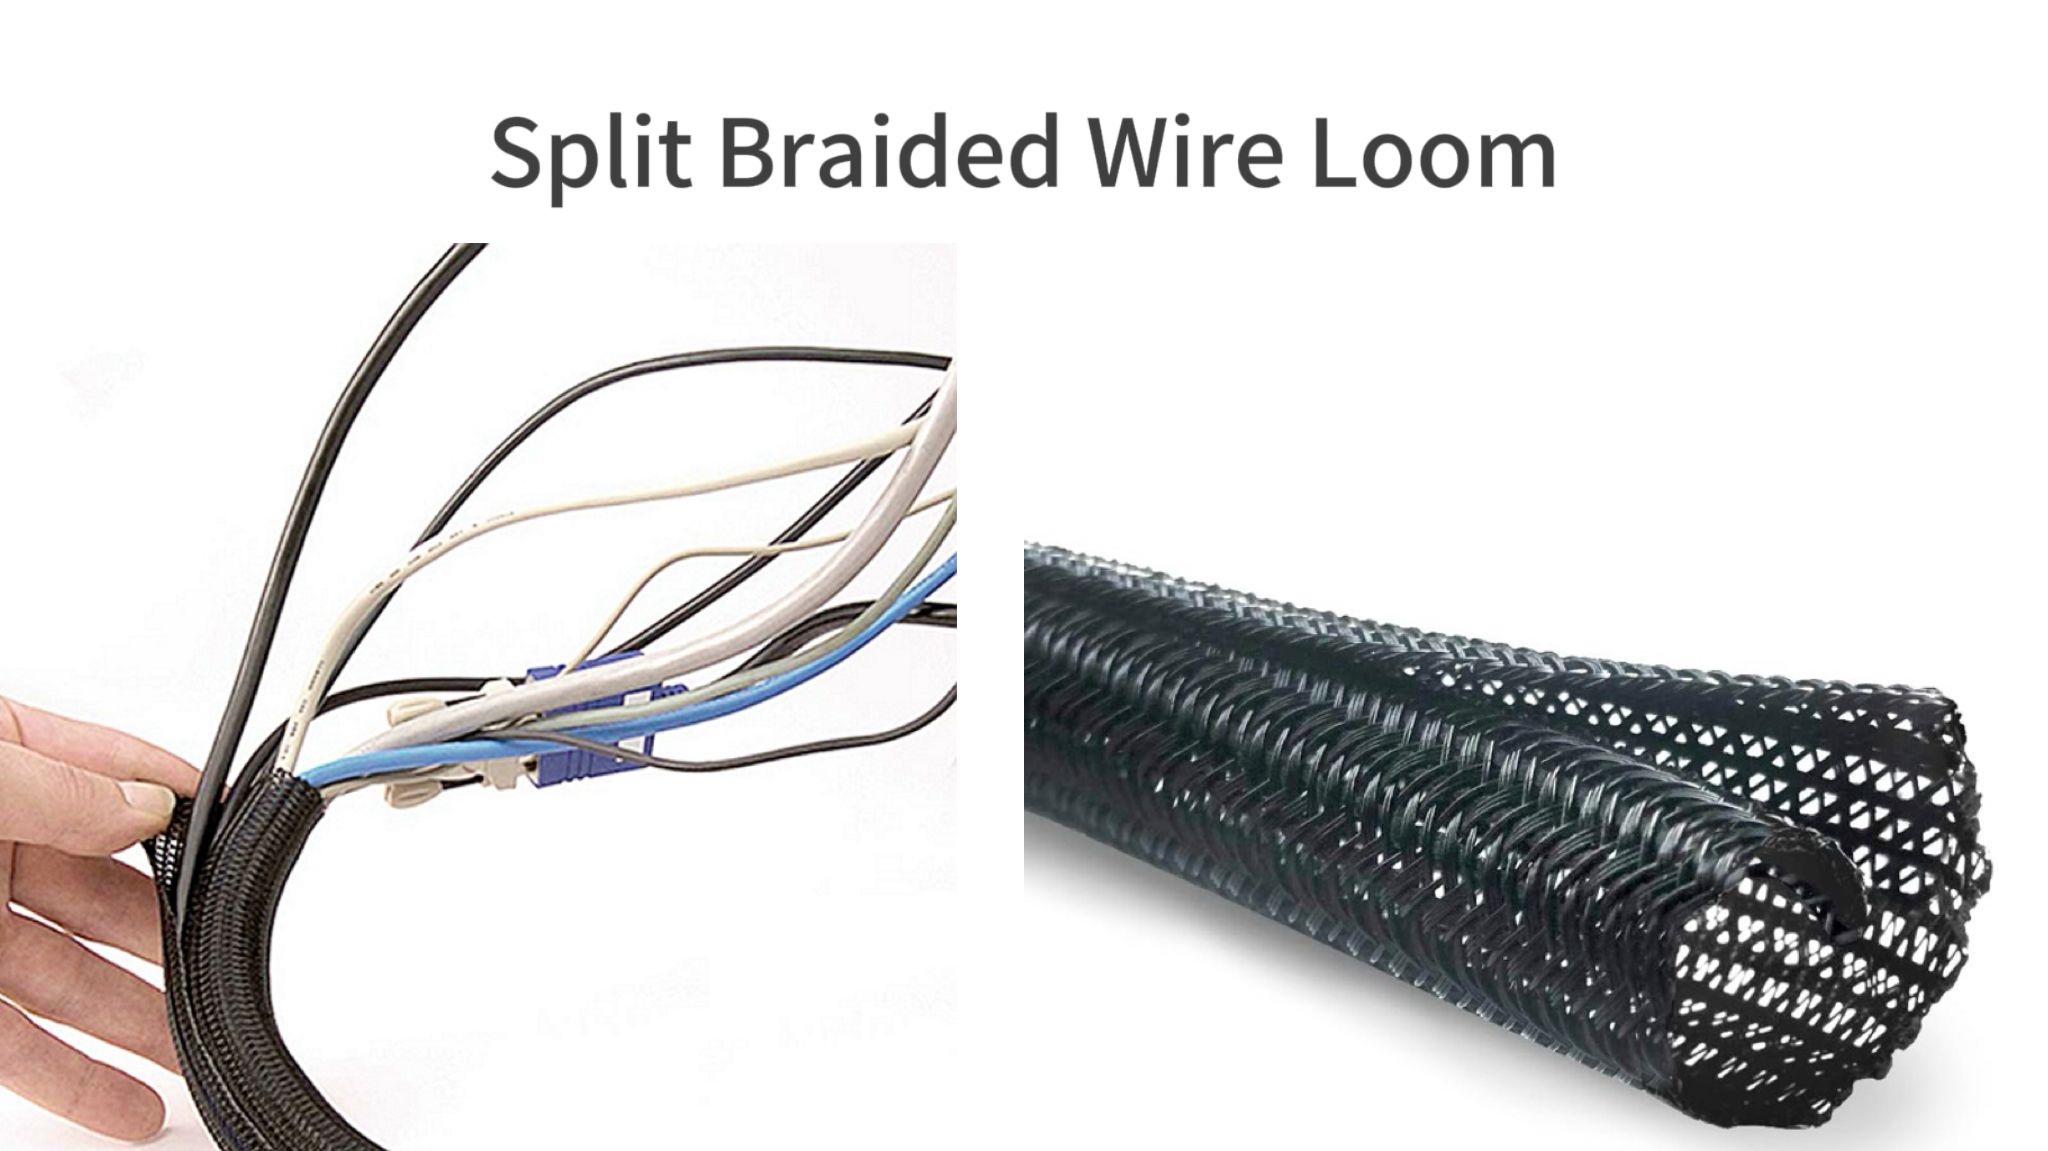
How To Use Split Braided Wire Loom
[pac_divi_table_of_contents included_headings="off|on|on|off|off|off" exclude_headings_by_class="on" active_link_highlight="on" level_markers_3="icons" title_container_padding="10px|15px|10px|15px|true|false" title_container_bg_color="#333333" body_area_height="650px"...
0 Comments